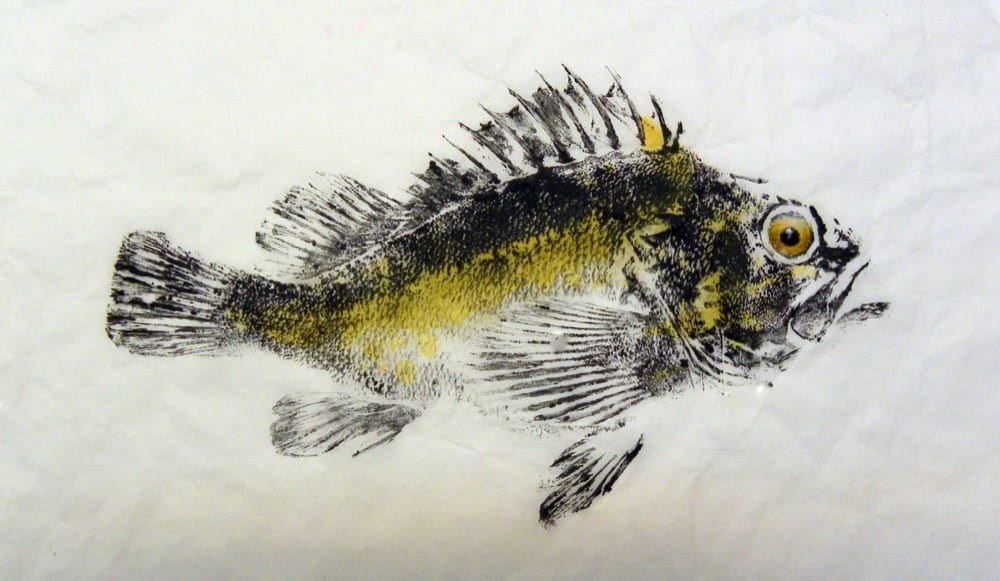
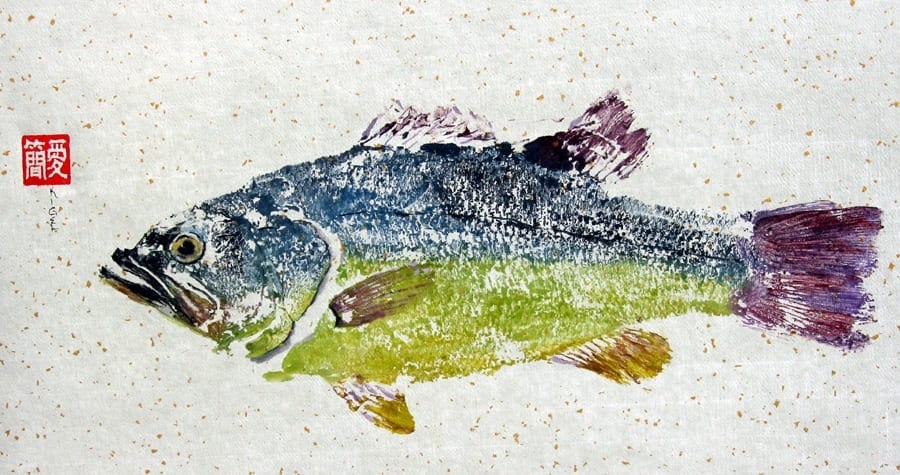
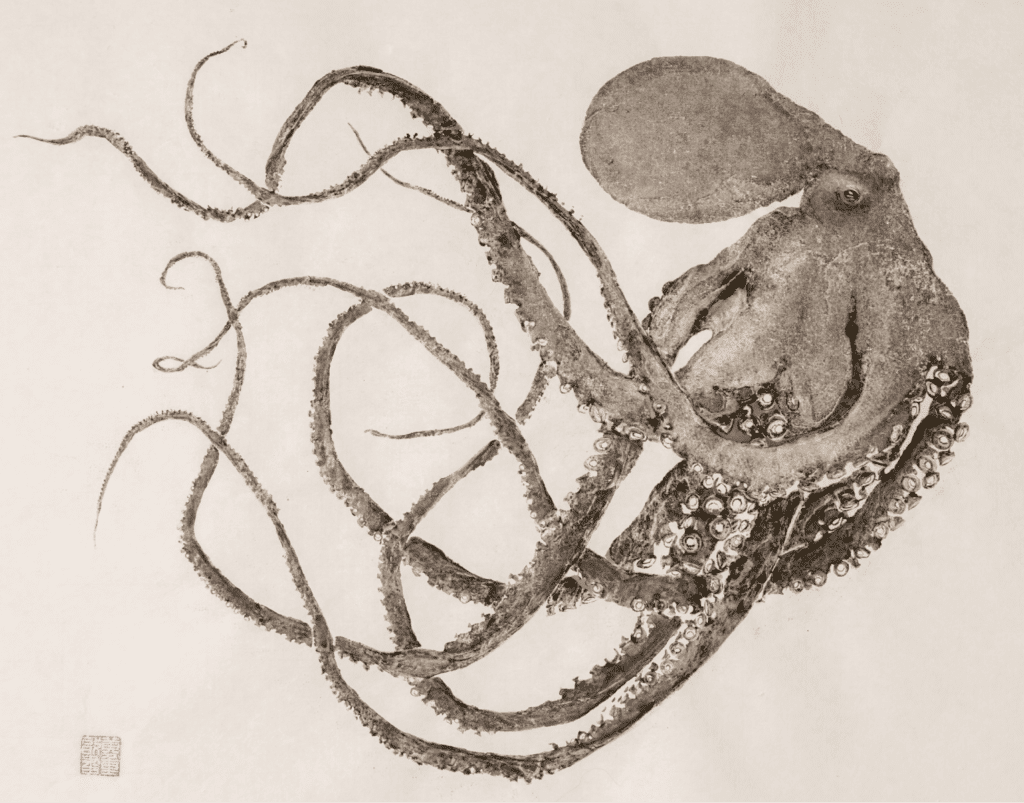
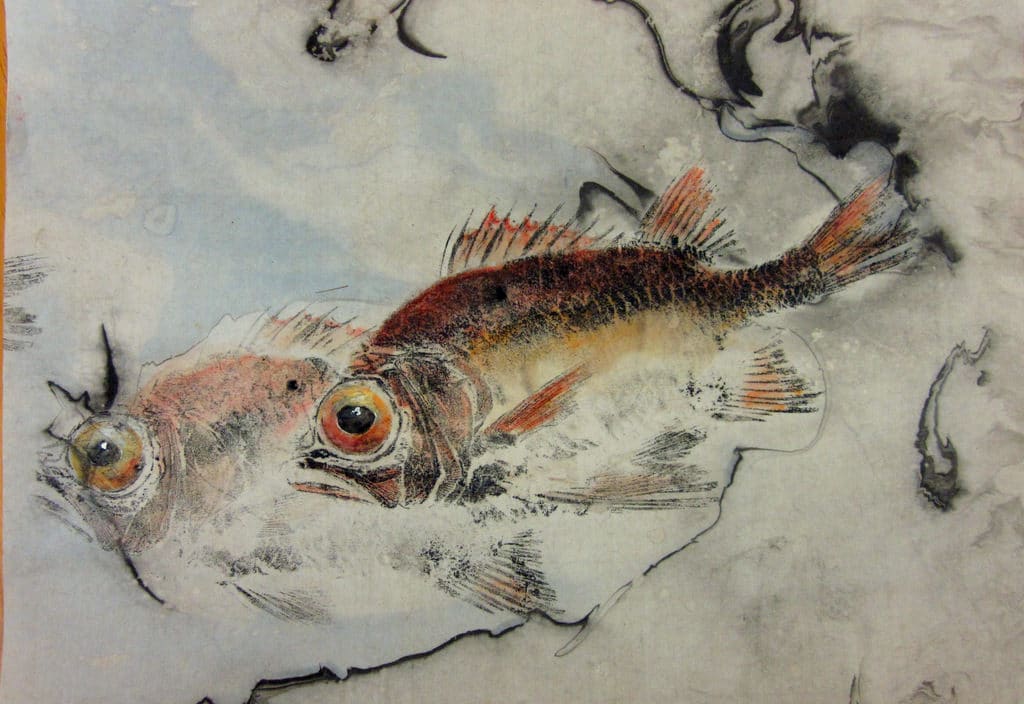
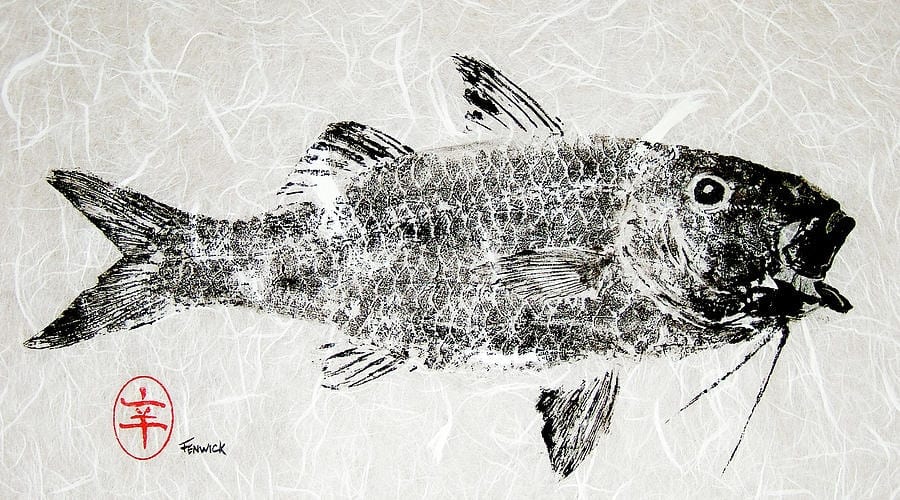
If you want to learn how to gyotaku, well it isn’t all that hard if you have even an inkling of creativity in you. The technique of gyotaku was invented by the Japanese and is the most ancient form of taxidermy. Gyotaku (pronounced ghe … yo … tah … koo) is the ancient art of fish rubbings. Fish rubbings are a very accurate way of recording the species and size of a catch.
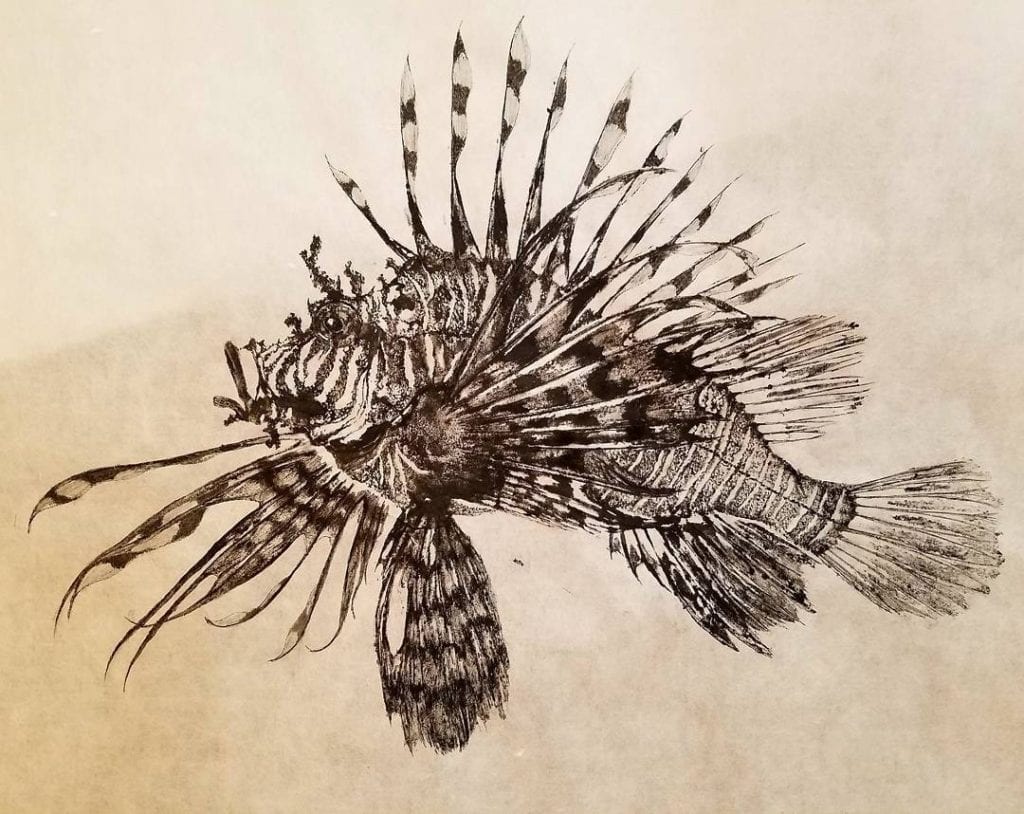
Gyotaku Equipment List
- Soap, vinegar, salt, rubbing alcohol
- Electric hair dryer
- Soft tissue
- Foam insulation board
- Utility knife
- Paper towels
- Pins
- Paint brushes or foam daubers
- Oil based relief ink
- Rice paper
- Watercolor pencils
How to Gyotaku. A step by step guide.
- First, study the fish. Photograph it if possible. Use illustrations and photographs to help you understand the coloration.
- Learn the anatomy and standout features of the fish.
- It is useful to take a photograph of the eye.
- Wash the fish. Soap, vinegar, or salt are all effective in removing mucous and bacteria.
- Certain parts (nares (nostrils); gill covers; and anus) of the fish may leak, so they need to be sealed. Stuff these areas with soft tissue. *If the fish has been gutted, also stuff soft tissue in the belly.
- Prepare a platform to support and stabilize the fish. We use insulation foam board. Trace around the outline of the fish, then cut out an opening for the fish body to fit into with a utility knife. Be sure to cut the opening at an angle similar to the contours of the fish.
- Lay the fish in the cavity. The fins should be supported by the foam board. *The pelvic fin may need additional support.
- Pin the fins to the board in the desired position.
- An optional step at this point is to use rubbing alcohol to dry the fish and kill bacteria.
- The best travel hair dryers make the skin of the fish very dry and receptive to the ink.
- After the fish is dry, remove the pins. The fins should stay in position.
- Test for leaks with paper towels. If the fish leaks, re-stuff and re-dry.
- Now the fish is ready for printing. Place paper towels under the fins to collect excess ink.
- To apply the ink, you can either use brushes or foam daubers. *A simple dauber can be made by taping a cosmetic sponge to a wine cork.
- Oil Based Relief Ink
is what we use as the medium, however water based block printing inks will work as well.
- Apply the base color to the fish. Inks are daubed (not brushed) onto the body of the fish. The pectoral fin is inked separately from the rest of the body by placing a paper towel under it as you apply the ink.
- Use a larger dauber to blend the colors.
- After the base colors have been applied, darker shading is applied on the upper part of the fish. Again, blend with a larger dauber.
- When the fish is completely inked, remove all ink from the eye with a cotton swab.
- Remove the dirty paper towels under the fins and replace with clean ones.

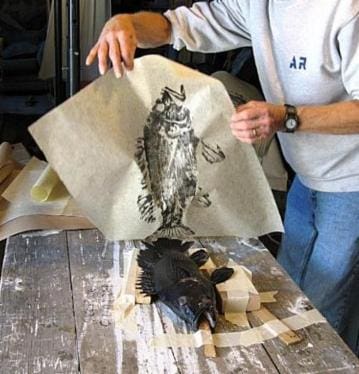
- Place paper over the inked fish. We use “unryu” rice paper that has been lightly misted with water.
- Press and rub the fish with your hands to transfer the ink from the fish to the paper, folding and stretching the paper around the contours of the fish. *Lightly rubbing with a plastic spoon brings out more detail on the fins.
- When you have rubbed all parts of the fish, gently peel the paper off and voila!
- Wait! You’re not done yet. The next step are the eyes. Watercolor pencils are on choice for painting them. Color in the base color of the iris, then the black pupil with the white light spot will make your fish come alive.
- The traditional signature of the orient is a red seal or hanko. Stamping the red hanko onto the print gives it the spirit of the orient. [Shuniku Red Seal Ink Pad for Inkan or Hanko Name Chop 5cm
]
Now you know how to gyotaku!
If you try it for yourself, be sure to send us pics or tag us on Facebook!


